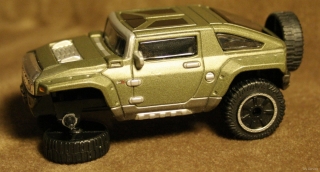
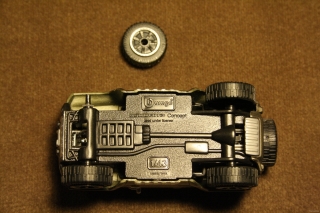
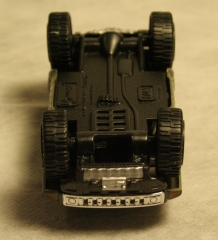
We are talking now about a Hummer HX Concept, Burago® product. It’s a model with metal body, PVC chassis and plexi windows. All the parts are fixed (no mobile doors or bonnet) except the wheels.
Technical data: Length = 90mm, Width = 40mm Height = 35mm and Weight = 65g.
Judging from the dimensions and finishing, it appears to be a simple toy car, and not a scale replica…
History of the defect / accident
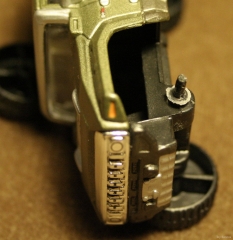
The kid who own the car does not know (or does not say…) what happened, but it may have been stepped on or just pressed too hard… The wheel holding part is not very solid, although the shaft is thickened at the base and solid (not cut or drill …).
Perhaps the method of attachment of the wheels is poor (“riveting” – hot or ultrasound deformation was used for wheel assembly) and therefore the shaft was not broken, but the rivet “hat” (mushroom) gave in…
At a preliminary examination we saw that was a “repair” attempt with superglue (which is our best friend …), but the wheel was no longer spinning, and probably fell at the first attempt to run, so we appeared on the scene!
Action Plans
The first solution that we thought about was the use of a pin, possibly with a washer to hold the wheel, introduced in the axle of the wheel in a hole made with a drill bit of ~0.7mm, and fixed with heat or barbs.
Unfortunately, at the depth of 5-6mm the drill bit broke, and we had to give up that option.
The second plan was to completely replace the axle with a screw or rivet (pop-rivet) – anything that would have suitable shape and size…
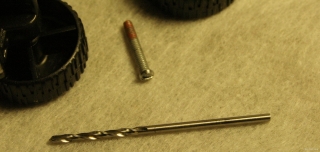
We found a screw (Russian, by appearances… ’60-’70), who just needed the diameter of the “head” arranged (was higher by ~0.5mm).
Required parts and tools
In this case it was very simple, we just needed the screw, drill bits (the 0.7mm) and one 1.8mm, slightly less than the diameter (under thread) of the screw.
The Repair
First, we adjusted the screw (on lathe) to bring it to the required size. There was no need for lathe tool, a file, a stone grinder and sandpaper were enough.
We cut the old shaft at the base, then gave the screw hole (~10mm deep), we expanded it at front (to drive the thread more easily).
Assembly went smoothly, we drove the screw with care (to auto-thread) and took care not to block the spin of the wheel.
Final Result
It seems that eventually it went from reasonable to excellent, the kid was happy, we expect the remaining three wheels…
Other comments
To our great surprise, the repaired wheel is not wobbling anymore, so for now it is the only wheel that is straight…
Available images:

